Community Blogs
1 total BlogsBuilders's Logs
Post and track any aviation related topic you can dream of; Builder's Log, Upgrade Log, Rebuild or Maintenance Log, and more!
—Create unlimited posts with photos, videos, and other documents
—Track time and expenses (which can be public or private)
—Share your Builder's Log on other social media platforms, and other Hangar Flying Community Members can follow and comment – or you can keep it private
—You can even back-date your posts if you wish to move your project, or other aviation blog, from another platform!
Click on New Builder's Log below to get started today…
Search Blogs
I'm putting in the floor pan -- I misdrilled the supplied part, so I got a piece of .050 and recut it on the sheer at school.
I choose to use rivnuts instead of the self-tapping screws because I wanted to more reliably install/remove the floor plates.
With the rivnuts in place, I used a strap duplicator to drill through. This proved a lot easier than "drilling from the bottom" as suggested in the plans.
This worked out well since I ended up installing/removing the sheet multiple times to get the cut outs for the brake brackets where I wanted them to be.
Still some final shaping and deburring to do, but the other plates in the baggage area should install a little nicer.
Grabbing some time here or there to fit more of the baggage floor and rear wall. I had done a pretty close guess for the size and trimmed on a shear at the school, but still needed to shave a bit off. These Harbor Freight shears work really well for pulling little curls off the end of the sheet. Will still need to deburr and smooth edges after final fitting.
Still using rivnuts to make it easy to install/reinstall


 RV-14
RV-14
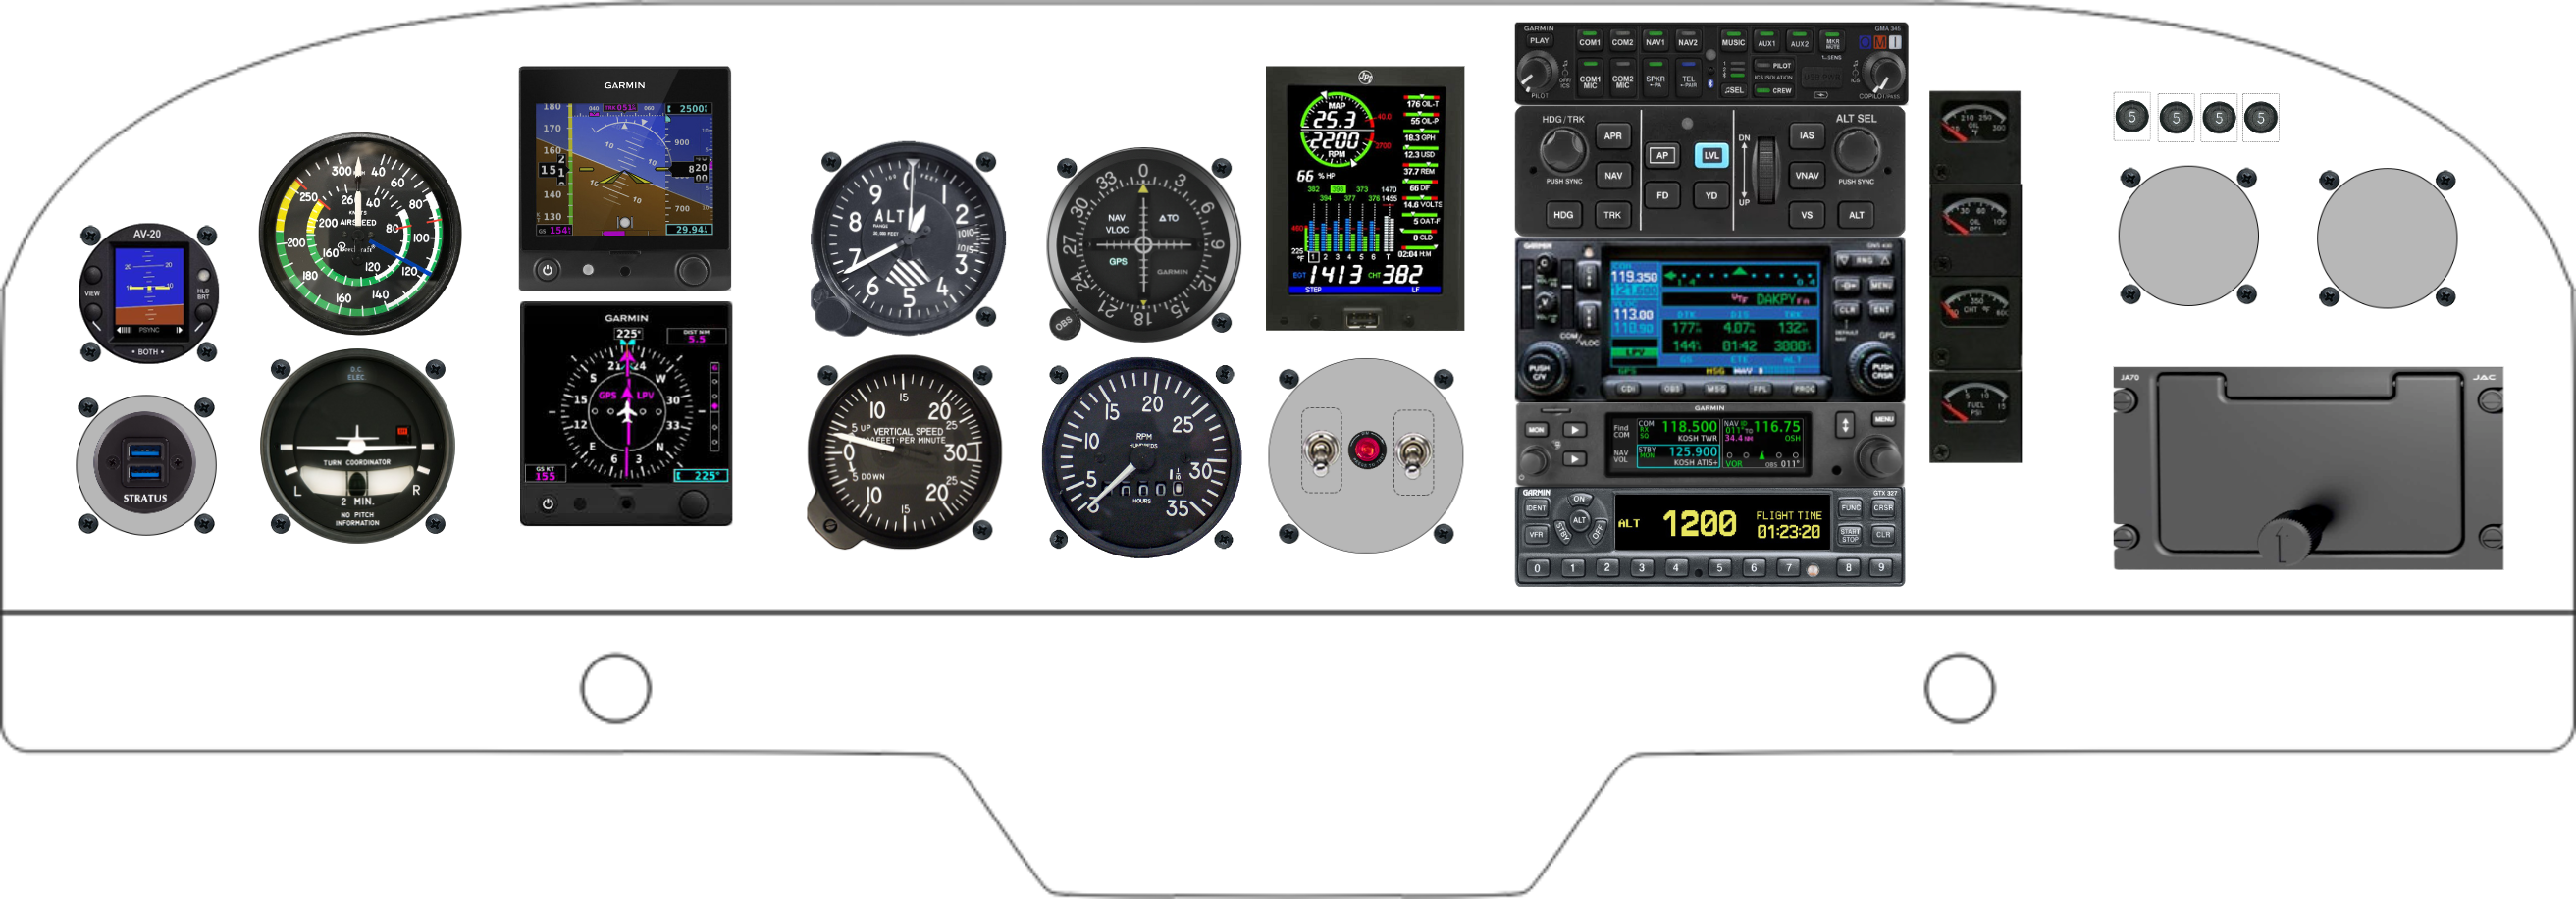 AA-5
AA-5
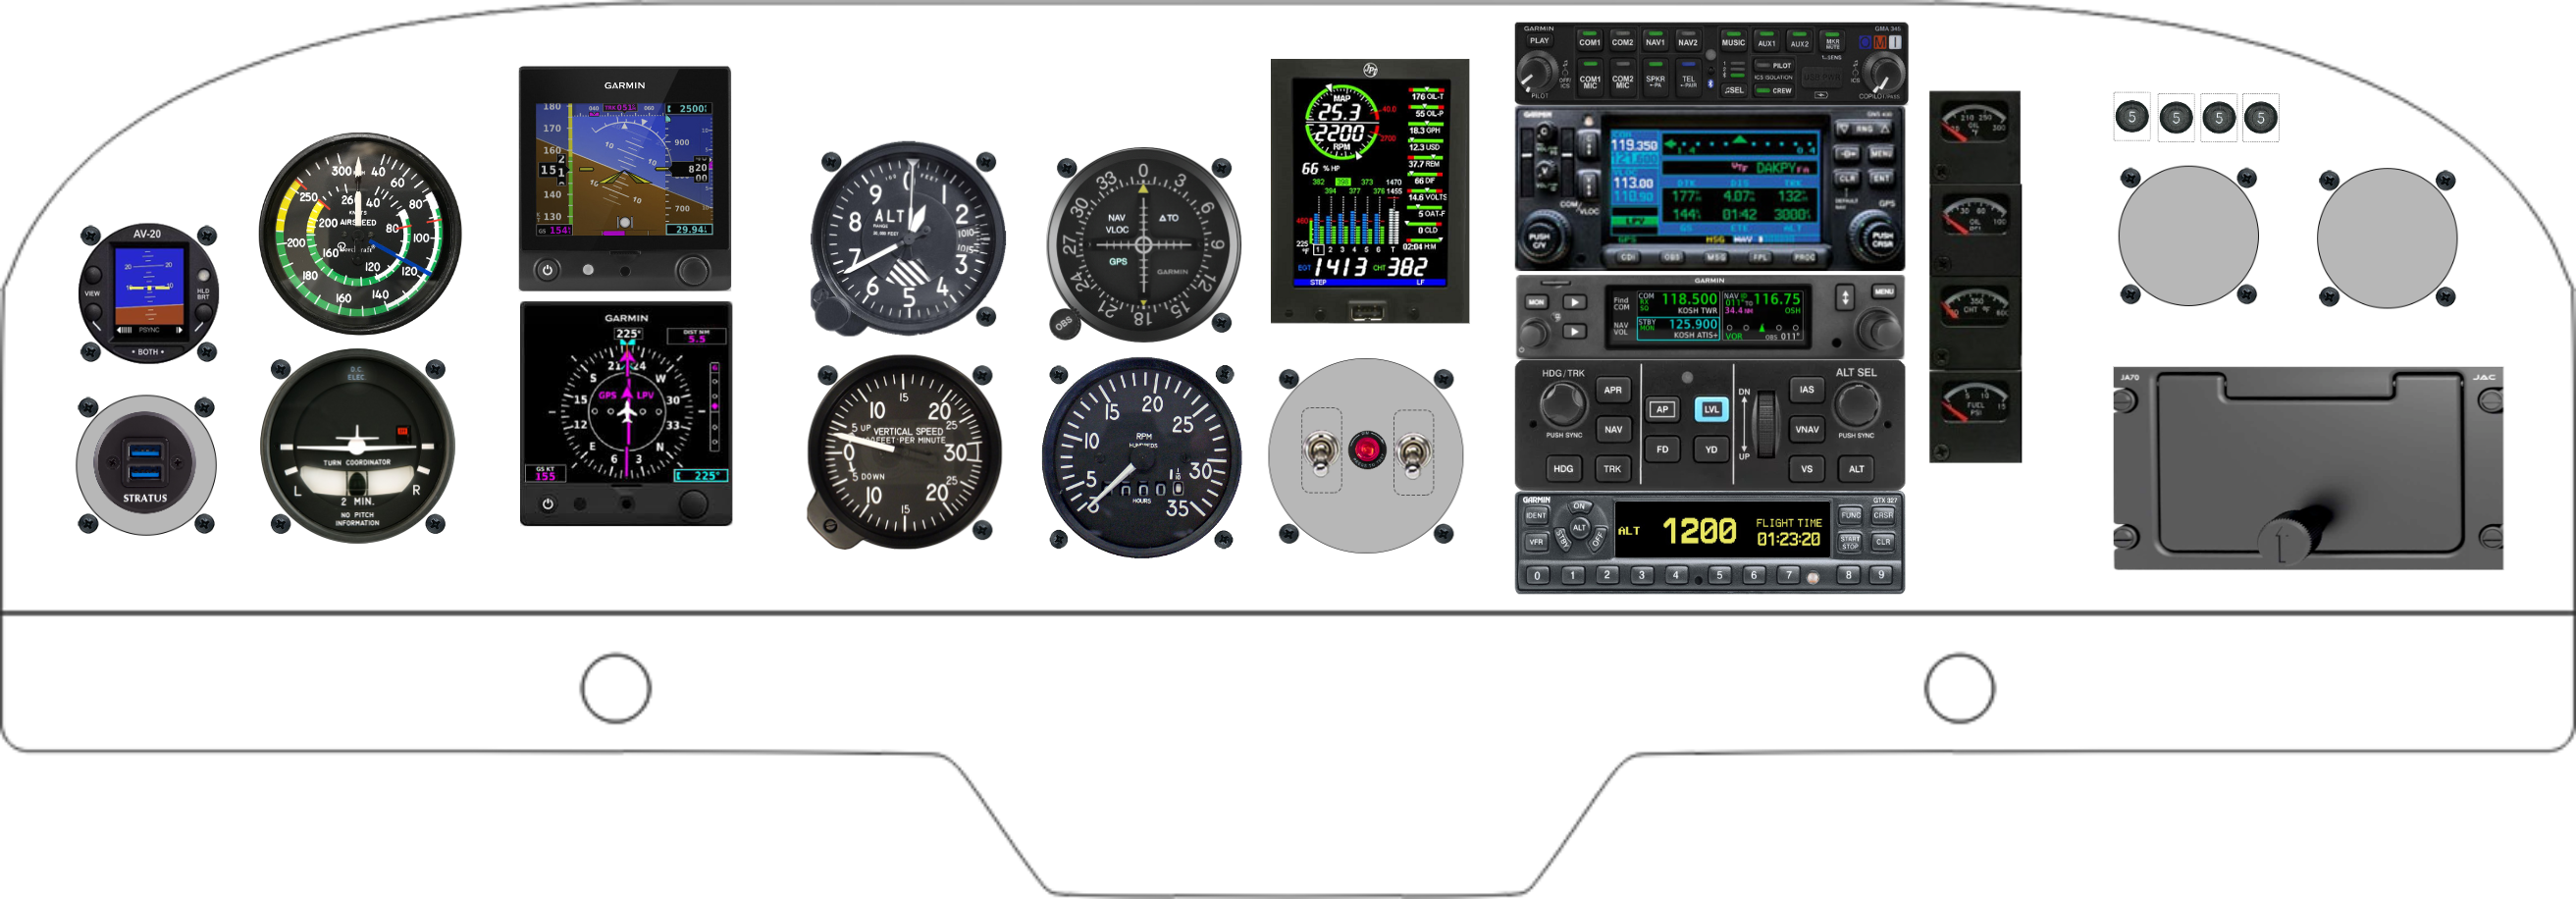 AA-5
AA-5
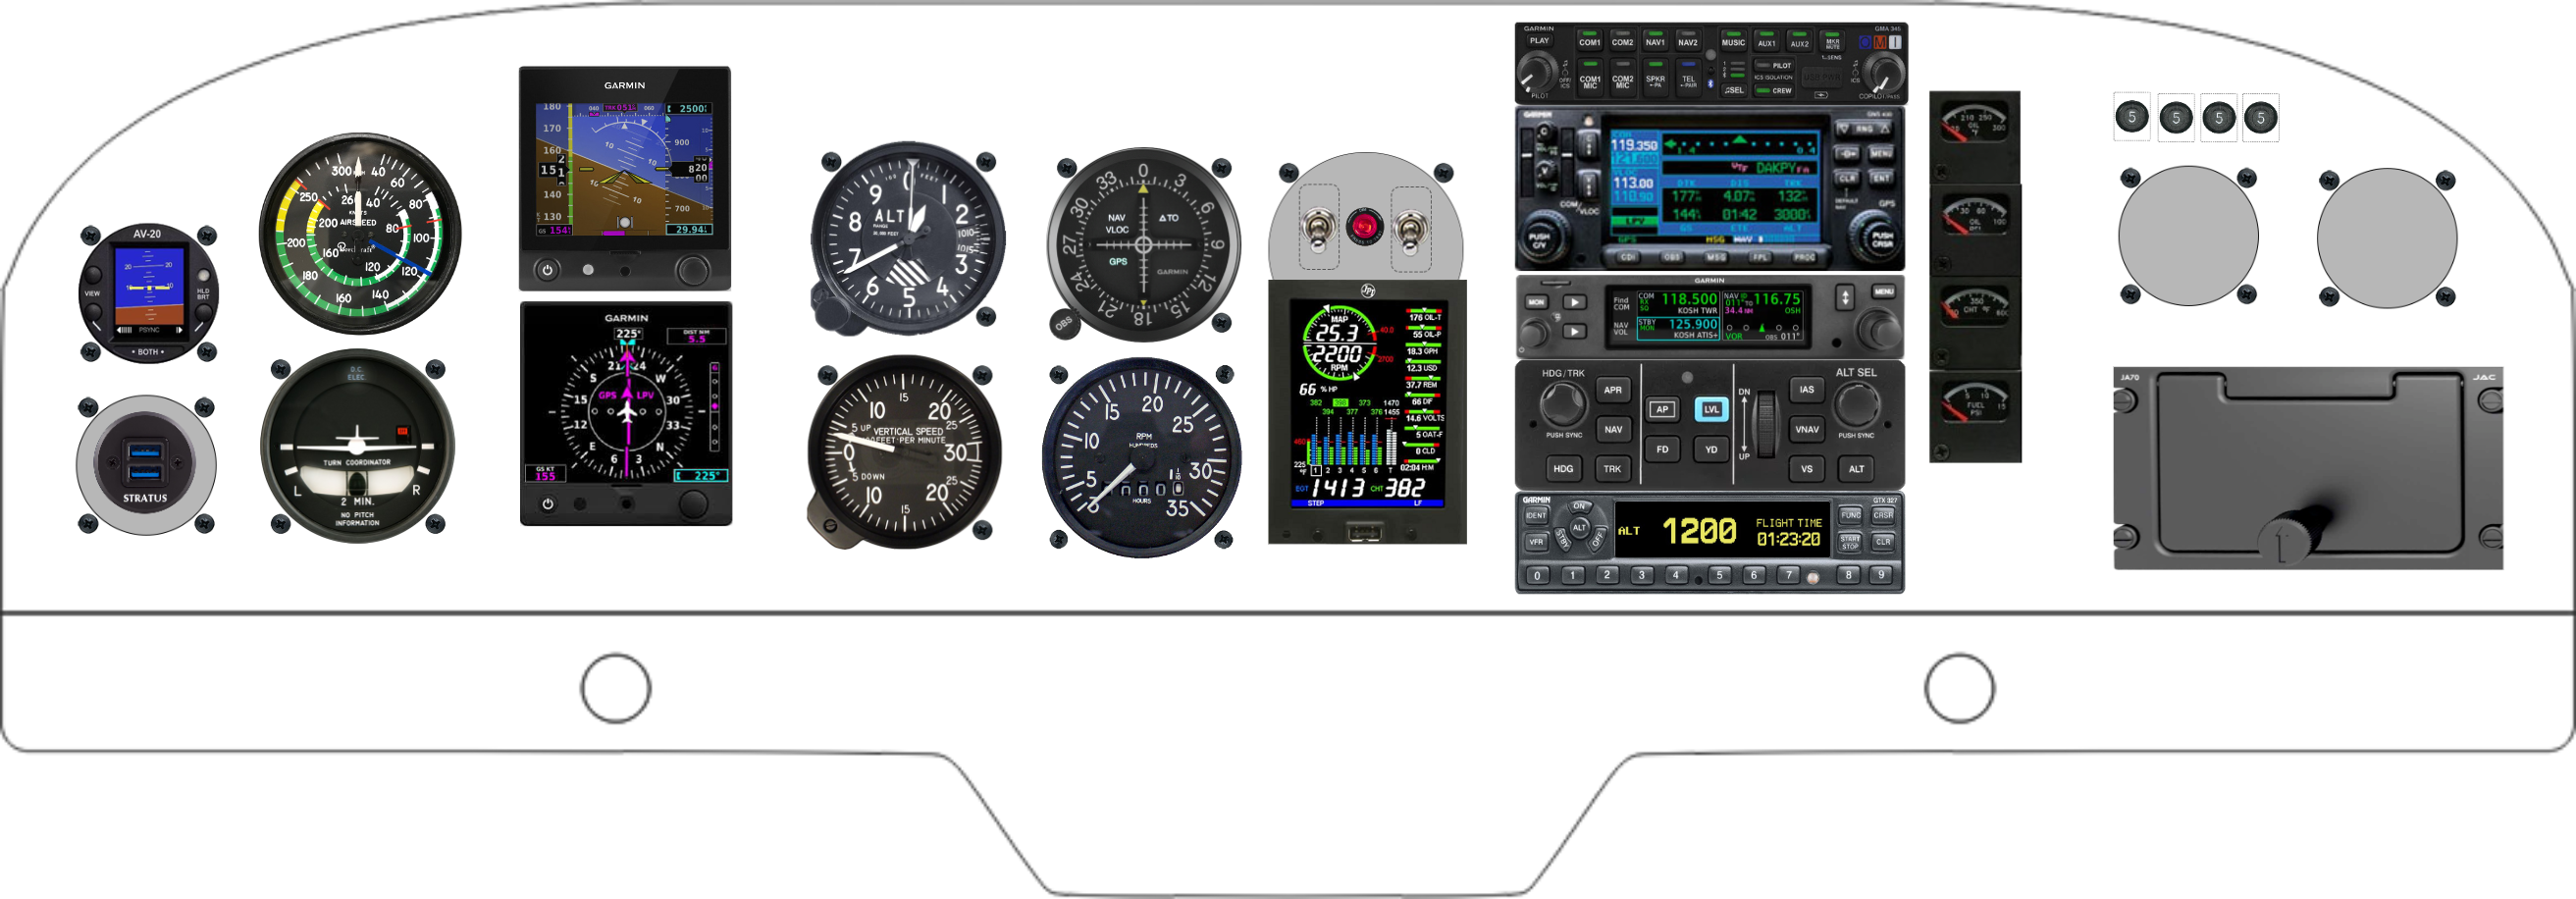 AA-5
AA-5
 RV-6
RV-6
 RV-6
RV-6
 RV-6
RV-6
 RV-6
RV-6
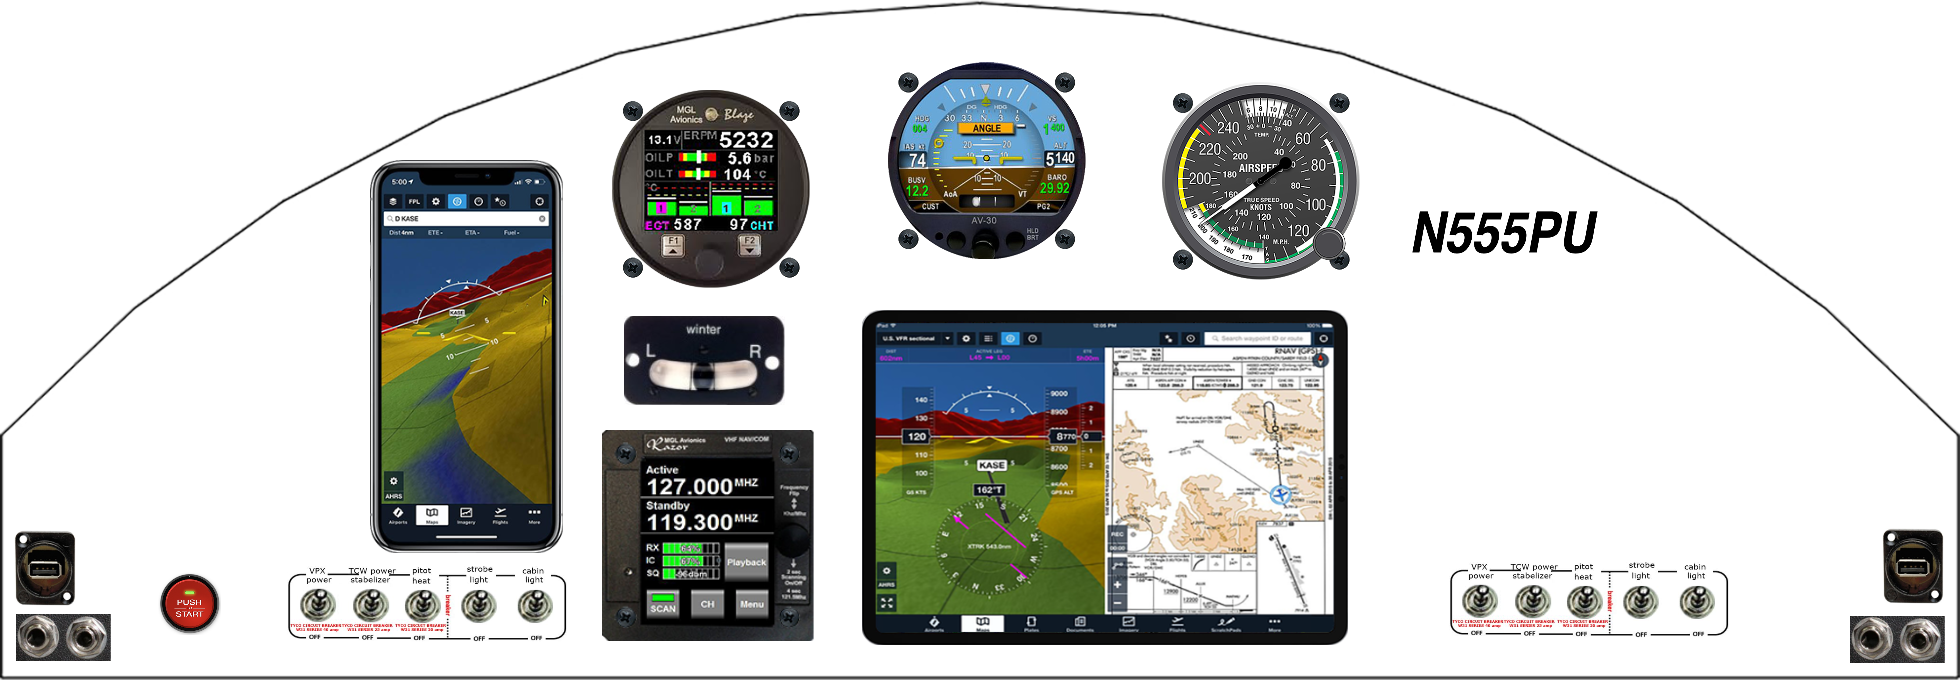 Model 4
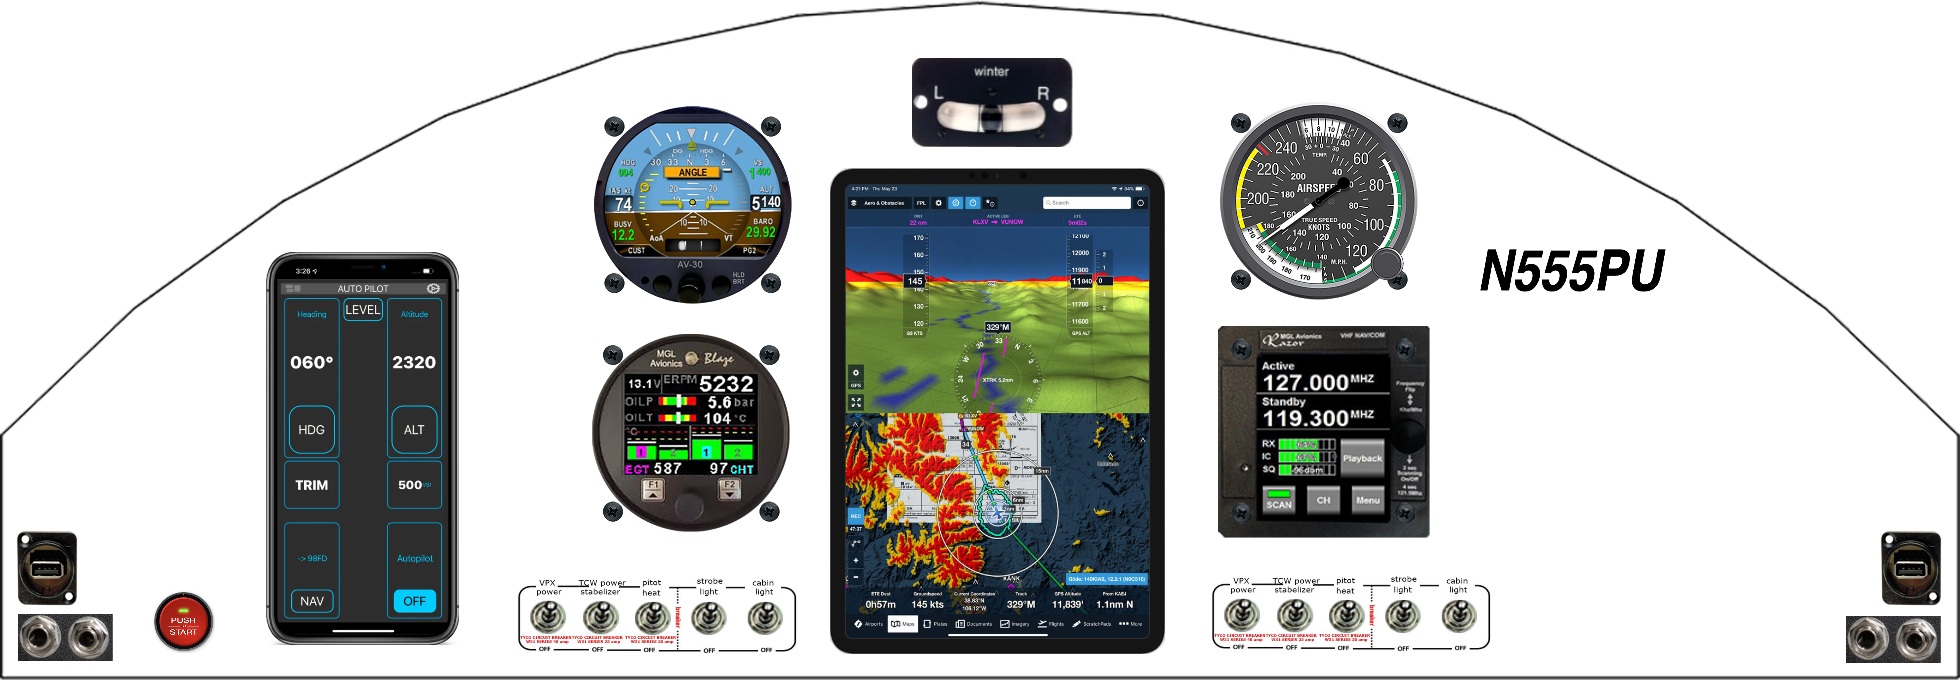 Model 4
 RV-7/9
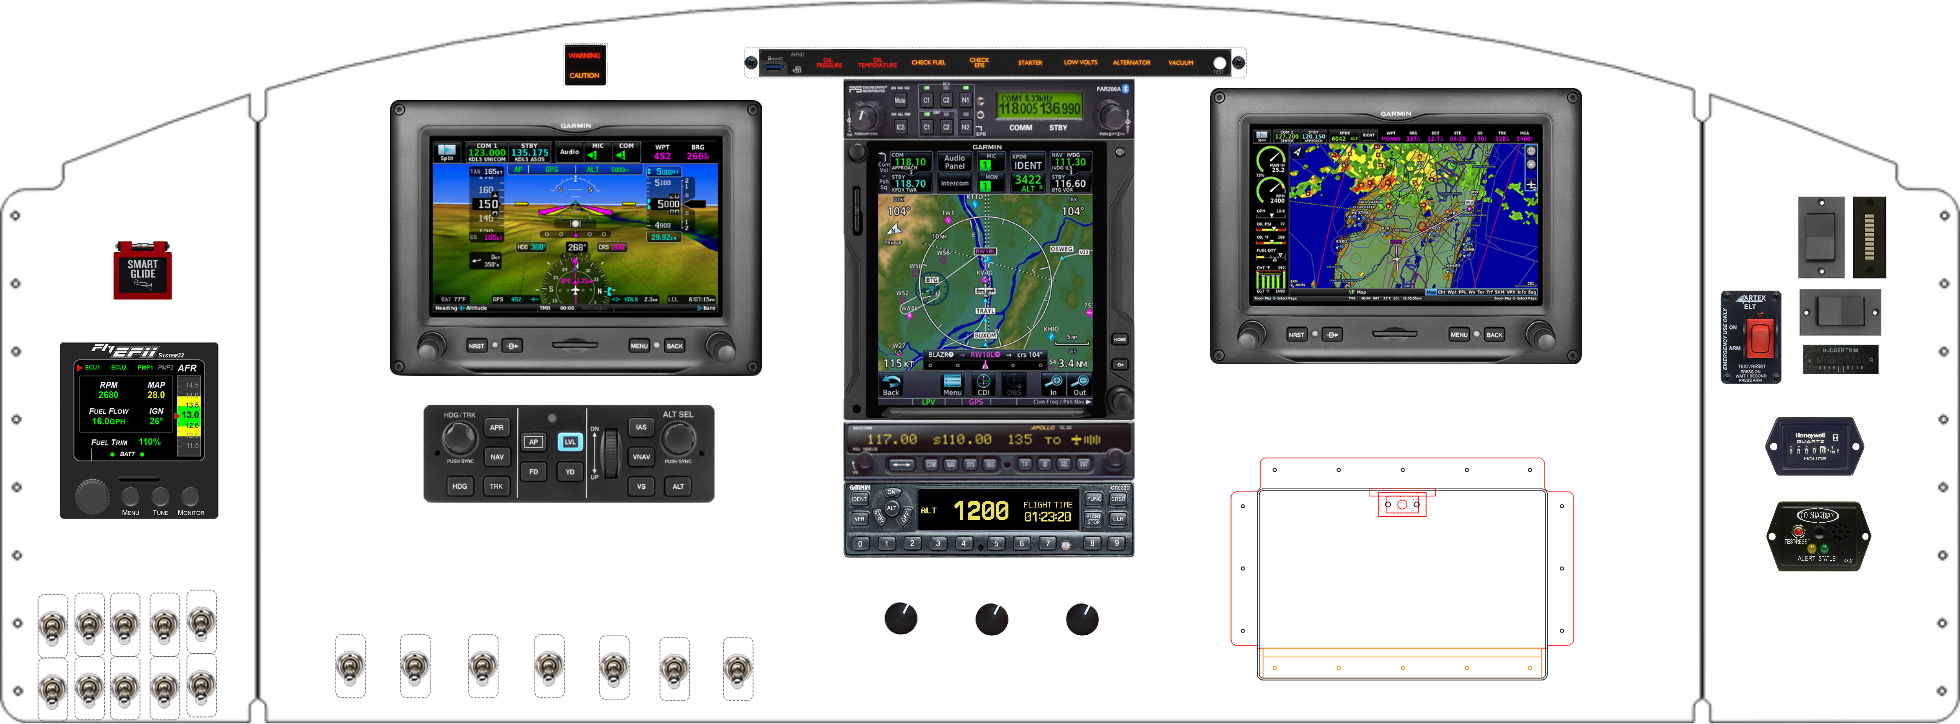 Murphy Moose
 M20C M20E M20F
 RV-10
RV-10
 RV-10
RV-10
 RV-10
RV-10
 RV-10
RV-10
 RV-10
RV-10
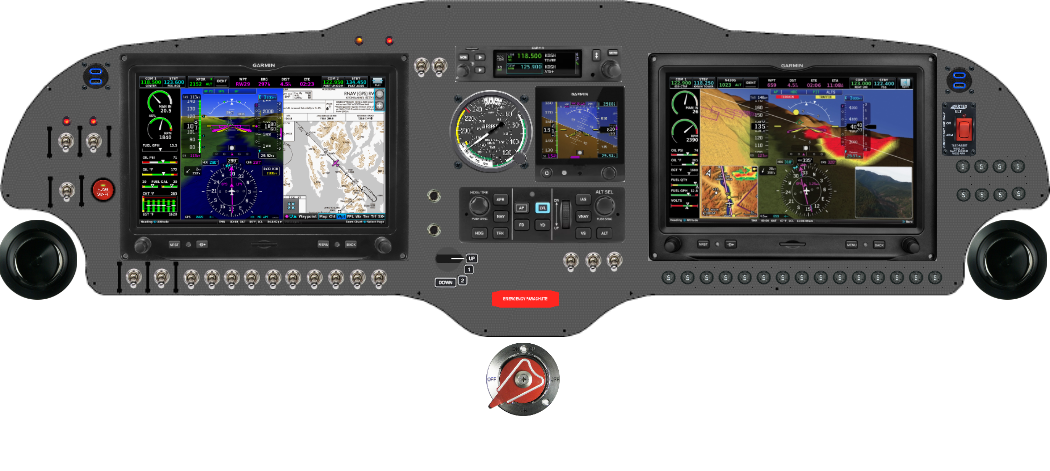 Sling TSi
 177 Cardinal
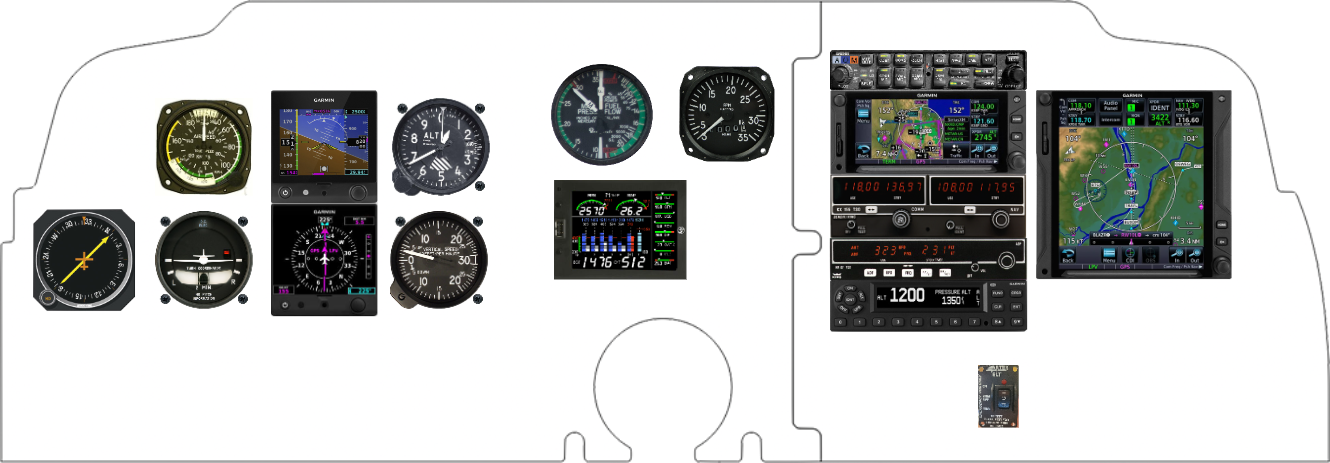 V35B
V35B
 V35B
V35B
 V35B
V35B
 V35B
V35B
 V35B
V35B
 V35B
V35B
 T210N
T210N
 T210N
T210N
 T210N
T210N
 T210N
T210N
 Decathlon
 177 Cardinal
 177 Cardinal
 177 Cardinal
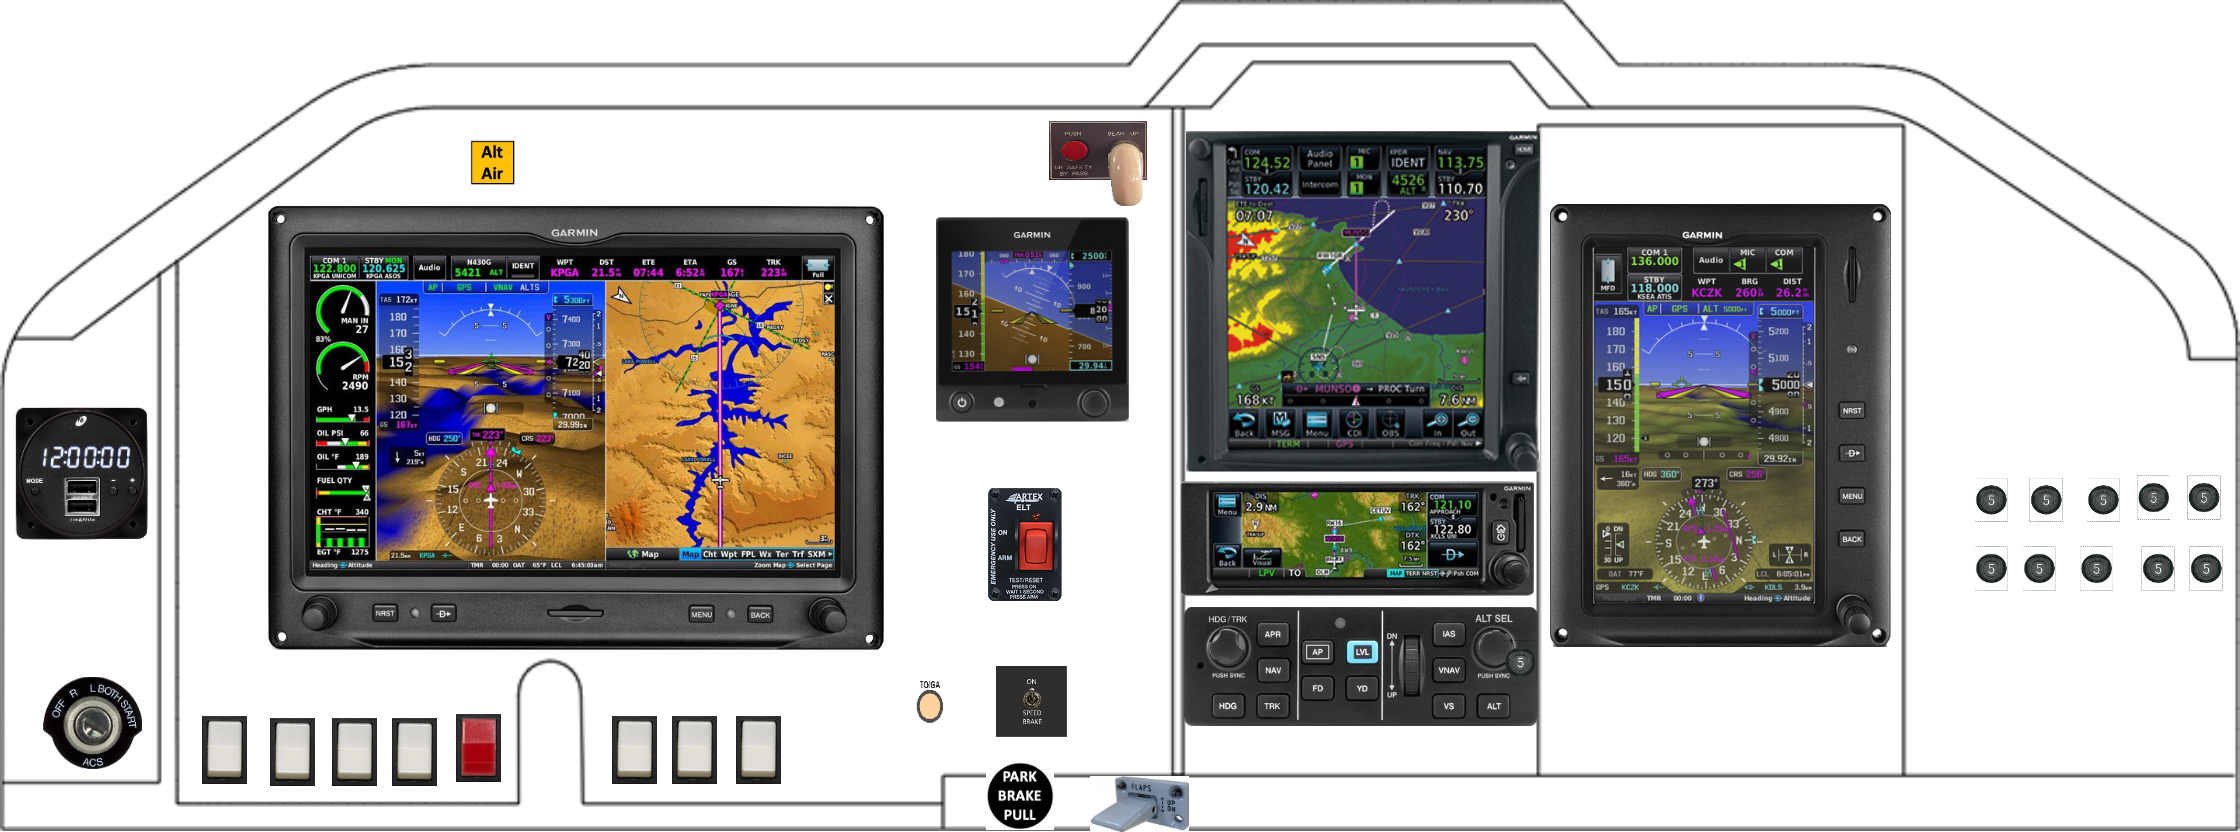 M20k
M20k
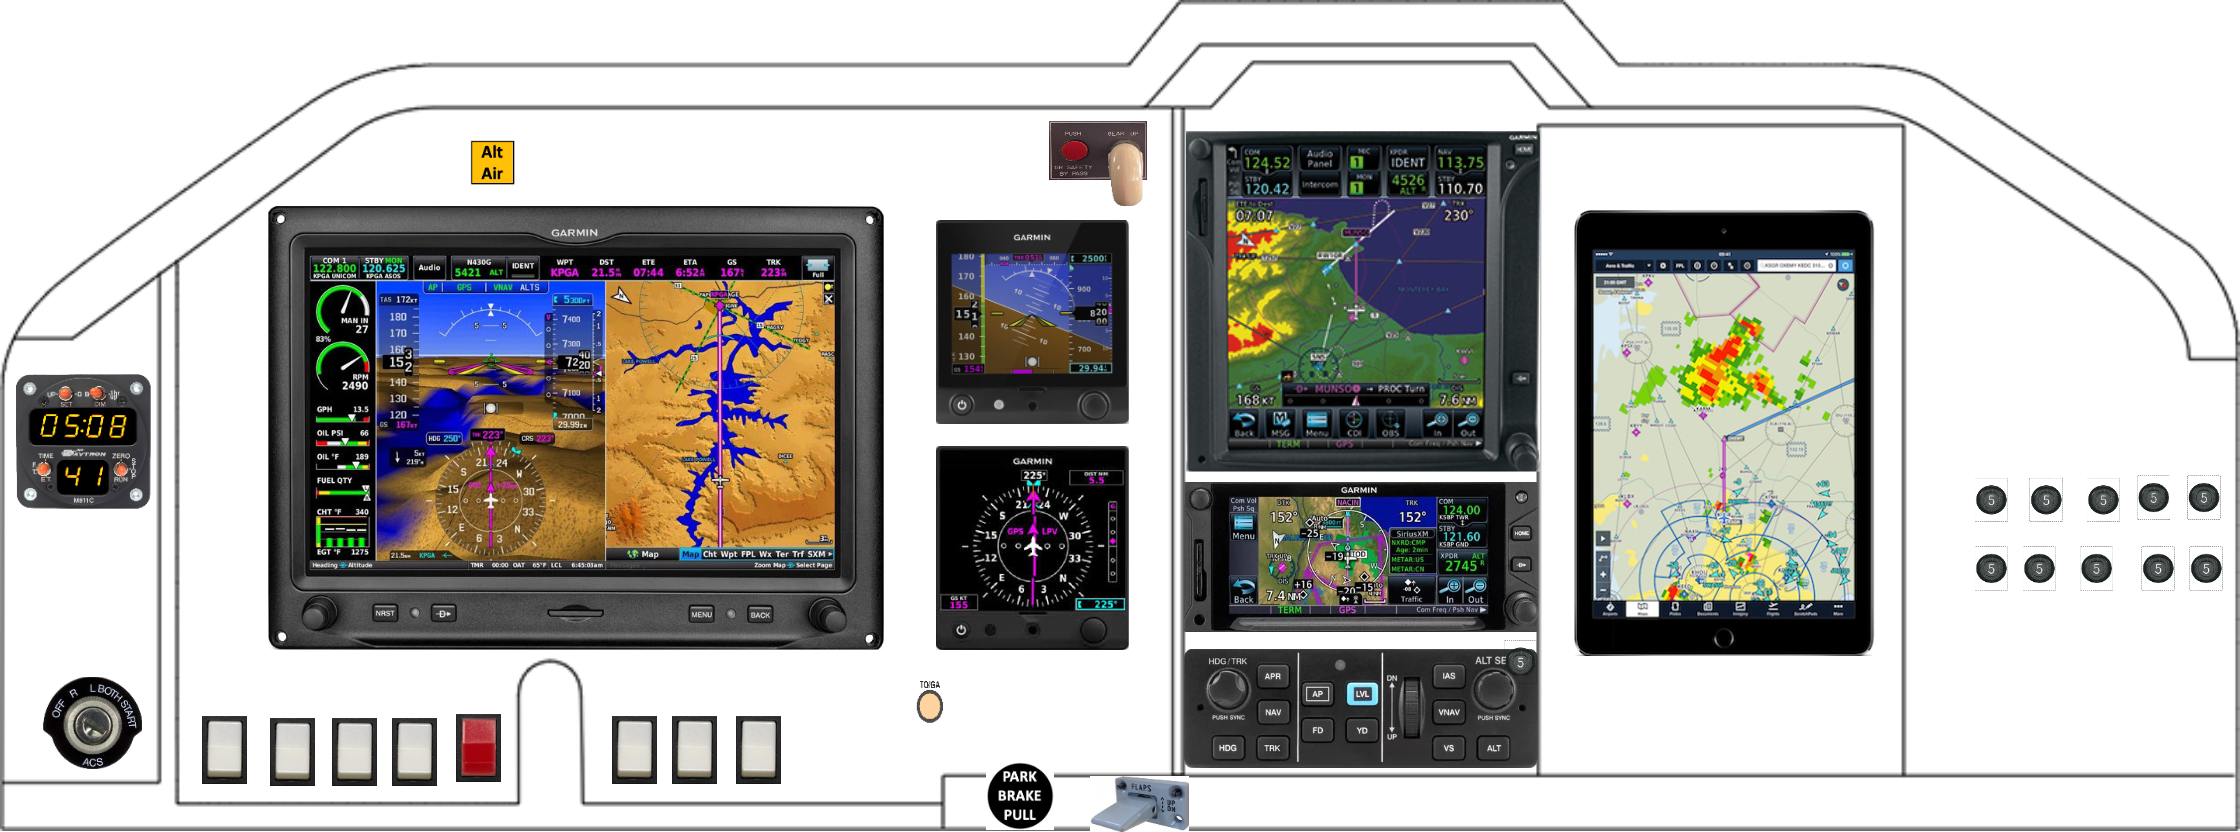 M20k
M20k